Tokyo in 3 Days for Photographers - Shibuya Scramble & Shibuya Sky at sunset for neon panoramas
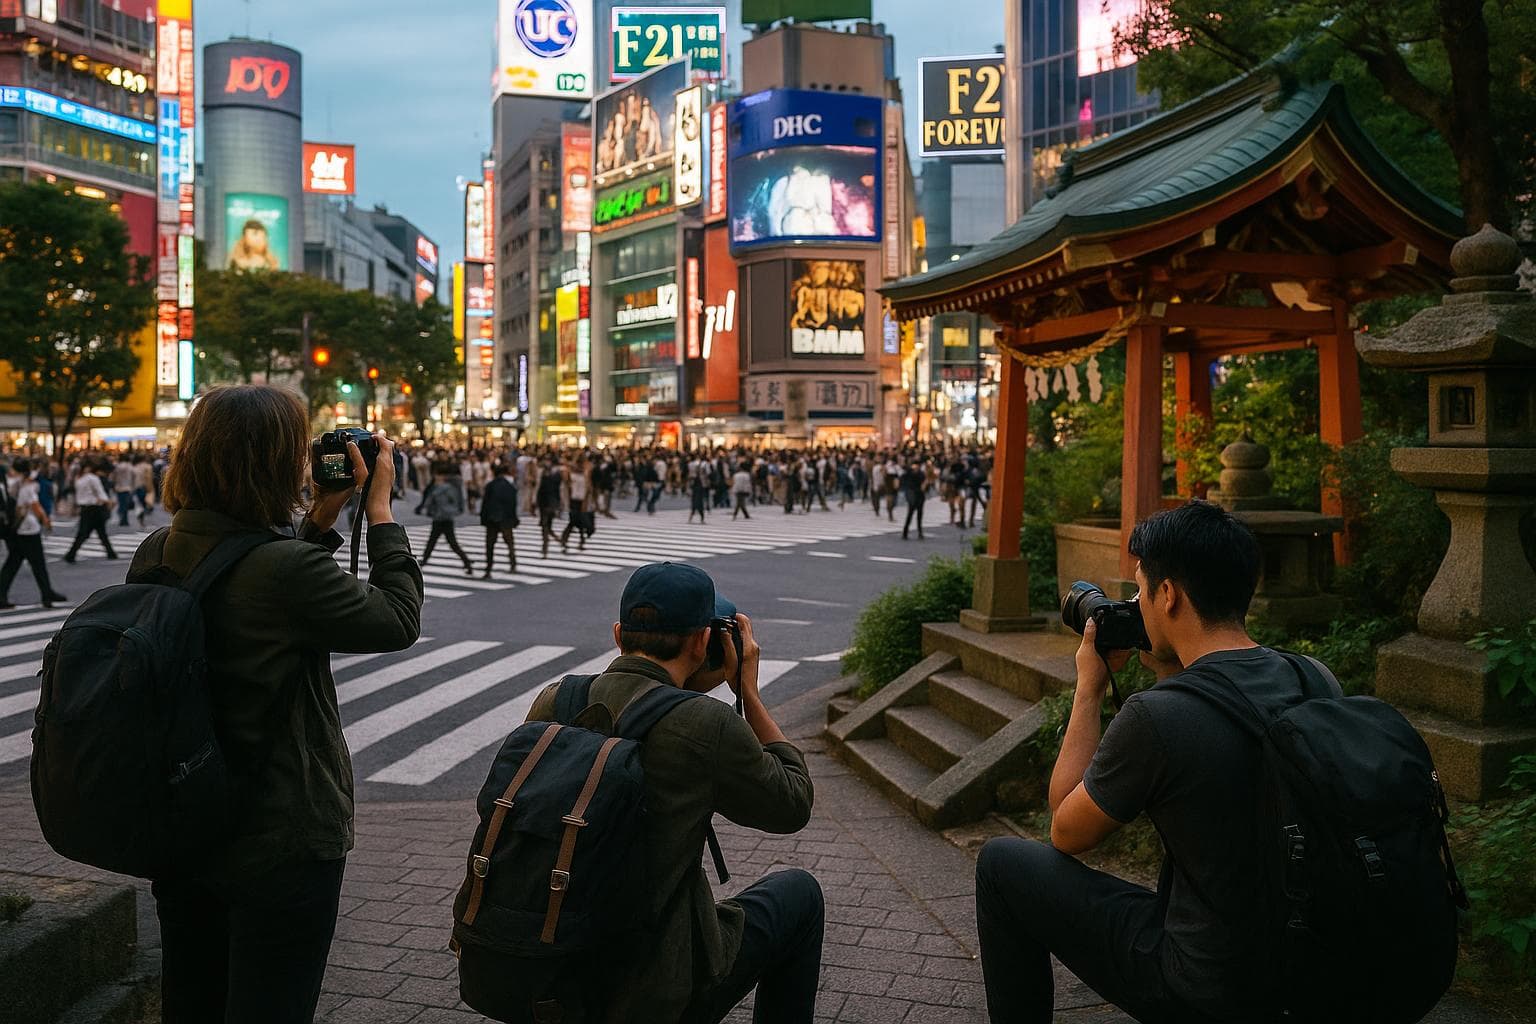
A moody, kinetic 3-day Tokyo itinerary for photographers who want iconic neon crossings, late-night alleyways and the stillness of shrines — balanced with local favorites, realistic pacing, and flexible windows for spontaneous shots. Contains optimal times for golden/blue hour, tripod and permit notes, and hyper-local tips.
Highlights
- Shibuya Scramble & Shibuya Sky at sunset for neon panoramas
- Dawn serenity at Meiji Jingu and intimate Harajuku lanes
- Nakameguro canal reflections and Asakusa blue-hour pagoda lighting
- Tsukiji morning food photography and Ginza minimal neon
- Shinjuku rooftop vistas and Golden Gai/Omoide Yokocho alley portraits
Itinerary
Day 1
Settle in and chase neon: sunset views, scramble crossings, alleylight and intimate izakaya scenes in Shibuya.
Check-in & Gear Drop — Shinjuku Granbell Hotel (basecamp)
Quick check-in, unpack camera bag, confirm stair/elevator access for gear and ask reception about late-night entry for returning from shoots.
Tips from local experts:
- Ask reception for a top-floor room facing the alley for easy night-portraits without long commutes back.
- Confirm if storage is available for extra luggage and if late-night re-entry is allowed (many Shinjuku hotels have 24-hr front desks).
- If you expect to charge multiple batteries, request a room with extra outlets or borrow a power strip from reception.
Transfer: Train Shinjuku → Shibuya (mainline transfer, flexible)
Short Yamanote/Local train transfer to Shibuya; use this time to scout Shibuya Sky ticket availability on your phone and warm up lenses.
Tips from local experts:
- Use the JR Yamanote line for the most frequent service and save wallet space by using Suica/PASMO.
- Keep one small camera bag with a fast prime in reach for sudden neon shots when exiting the station.
- Avoid peak commuter windows (07:30–09:00 and 17:30–19:00) if you want space to handle gear on the platform.
Shibuya Sky — rooftop golden hour & neon panorama
Book tickets ahead and catch golden hour from Shibuya Sky for a high vantage of the crossing, towers and first neon flickers.
Tips from local experts:
- Book timed-entry online in advance if you plan tripod use or want the observation deck at sunset; small tripods are often restricted without prior notice.
- Shoot the crossing at low ISO with a 24–70mm; aim for frames that include billboards and horizon lights for context.
- If the rooftop is booked/tight, descend to the Hikarie Sky Lobby (lower floors) for an alternative elevated angle.
Shibuya Crossing — scramble-level street shooting at blue hour
Move to street level to capture long exposures and kinetic crowds as neon signs come alive; practice motion blur and layered exposures.
Tips from local experts:
- Use a small beanbag or low tripod and shoot from the sidewalk corners to avoid blocking pedestrians — tripods on the crossing itself are discouraged.
- If the Starbucks vantage is crowded, aim for the Magnet by Shibuya109 floors or pedestrian overpass for alternate elevated angles.
- For dramatic streaks, try 1/4–1/2s shutter at low ISO and bracket exposures for highlights from screens.
Dinner & ambient interiors — Nonbei Yokocho tiny izakayas
Small, atmospheric bars and izakayas ideal for moody interior portraits, close-quarters light and candid environmental shots.
Tips from local experts:
- Ask permission before photographing inside small bars; many owners are happy to allow a quick frame if you buy a drink.
- Bring a fast prime (35mm or 50mm f/1.4–2) for shallow depth-of-field in low light and to respect tight spaces.
- Be discreet with flashes — use bounce or continuous LED if you need fill; small venues are sensitive to bright strobes.
Center Gai & Dogenzaka neon alleys — late-night street portraits
Wander the pedestrian alleys and side streets for saturated sign-light portraits, neon reflections and small storefronts.
Tips from local experts:
- Keep valuables close and use a cross-body bag — neon streets draw crowds; be ready to shoot quickly as scenes change fast.
- Use a 24–70 or 35mm for flexible framing; try shooting into reflective puddles or windows for layered compositions.
- Scout quieter side-alleys early in the route to return at the end of the night when candid moments are richer and less crowded.
Day 2
Dawn shrine silence, Harajuku contrast, riverside reflections and Asakusa blue-hour pagoda light — a day of contrast for portrait and quiet-space photographers.
Dawn: Meiji Jingu — quiet torii and forested approach
Start before sunrise to capture diffuse light in the shrine precincts, tranquil tree-lined walks and minimal crowds for contemplative portraits.
Tips from local experts:
- Tripods are generally tolerated for non-commercial personal shooting at quiet hours — still be respectful of worshippers and avoid blocking paths.
- Capture the long approach (torii and cedar avenue) at low angles for leading lines; a 24–70mm and 50mm both work well.
- Arrive on the first trains (05:30–06:30) to minimize people; check for any festivals or rituals that might restrict areas on your visit date.
Breakfast & caffeine — Onibus Coffee Harajuku
Small, local roastery with natural light for gear checks, quick editing and street windows ideal for portrait practice after the shrine.
Tips from local experts:
- Sit by the window for soft morning light and quick tethered shots of street scenes; outlets can be scarce so ask staff politely about plugs.
- Pack a compact reflector or diffuser if you plan to do short portrait work at a table — the café light is flattering for faces.
- Use the café as a warm-up station: swap lenses, check histograms, and back up any Dawn images to a second card or cloud.
Takeshita Street — colorful street portraits and detail work
Tight compositions, character studies and consumer-culture color palettes — focus on details, textures and candid expressions.
Tips from local experts:
- A small prime (35mm or 23mm) is perfect for candid street portraits; use zone focusing to keep up with fast-moving subjects.
- Weekends are crowded — if you want calmer frames, plan early weekday mornings or use alleyways off the main drag for less tourist-heavy visuals.
- Avoid obstructing the flow; photograph from the edges of the crowd or slightly elevated positions to get clear compositions.
Transfer: Harajuku → Nakameguro (train ride & prep)
Move to Nakameguro while charging batteries and scouting the Meguro River for reflections and architectural frames.
Tips from local experts:
- Use the Tokyu/metro connections and check transfer times on Hyperdia/Google Maps to avoid long waits with cold batteries.
- While in transit, sort your shots and flag frames for quick edits later; label folders on your tethered laptop or tablet.
- Keep one lens on the camera body (fast prime or 24–70) and a rain cover handy — riverside shoots can surprise you with splashes or drizzle.
Nakameguro & Meguro River — reflections, bridges and quiet cafés
Explore small bridges, boutique storefronts and riverside reflections — great for minimal frames and environmental portraits.
Tips from local experts:
- Shoot from low bridge railings for foreground-composition reflections; a polarizer helps control glare but remove it for rich neon reflections at night.
- For portrait sessions, use the alleys close to the river where local cafés let you stage small, intimate sets without tourist intrusion.
- If planning a model shoot, call cafés ahead for permission to use their terrace during quieter hours; many are cooperative for a small fee or purchase.
Lunch: Onibus Coffee / neighborhood café (light, local)
Casual lunch and battery/backup break — keep the shoot flexible and scout backstreets for afternoon frames.
Tips from local experts:
- Choose a seat with window light to continue scouting street frames and to get quick test shots for composition experiments.
- Top up memory cards and do a quick backup to a portable SSD; local cafés are good for 30–45 minute editing sprints.
- Ask staff about local back-alleys — baristas often know the best murals and least-touristed corners for portraits.
Break & quick edit session (hotel or café)
Short rest, battery swap and quick selects/edits so you’re ready for the Asakusa blue-hour push.
Tips from local experts:
- Rotate batteries and format expendable cards only after backing up — don’t risk losing morning files.
- Do a quick color/white balance test and create a preset to accelerate low-light edits for the evening shoots.
- Stretch and hydrate: long handheld shooting can fatigue you quickly and affect composition steadiness.
Transfer: Nakameguro → Asakusa (train + quick scout)
Transit to Asakusa area and plan a route that takes you to Nakamise and Senso-ji right before blue hour.
Tips from local experts:
- Allow extra time for transfers across the city (30–60 min) and check train lines for direct vs transfer routes to save time with gear.
- Keep camera easily accessible for sudden light changes; Asakusa’s evening light transitions quickly as lanterns turn on.
- Research rooftop café hours at the Asakusa Culture Tourist Center in advance if you plan to use that observation point for sunset-to-blue-hour transitions.
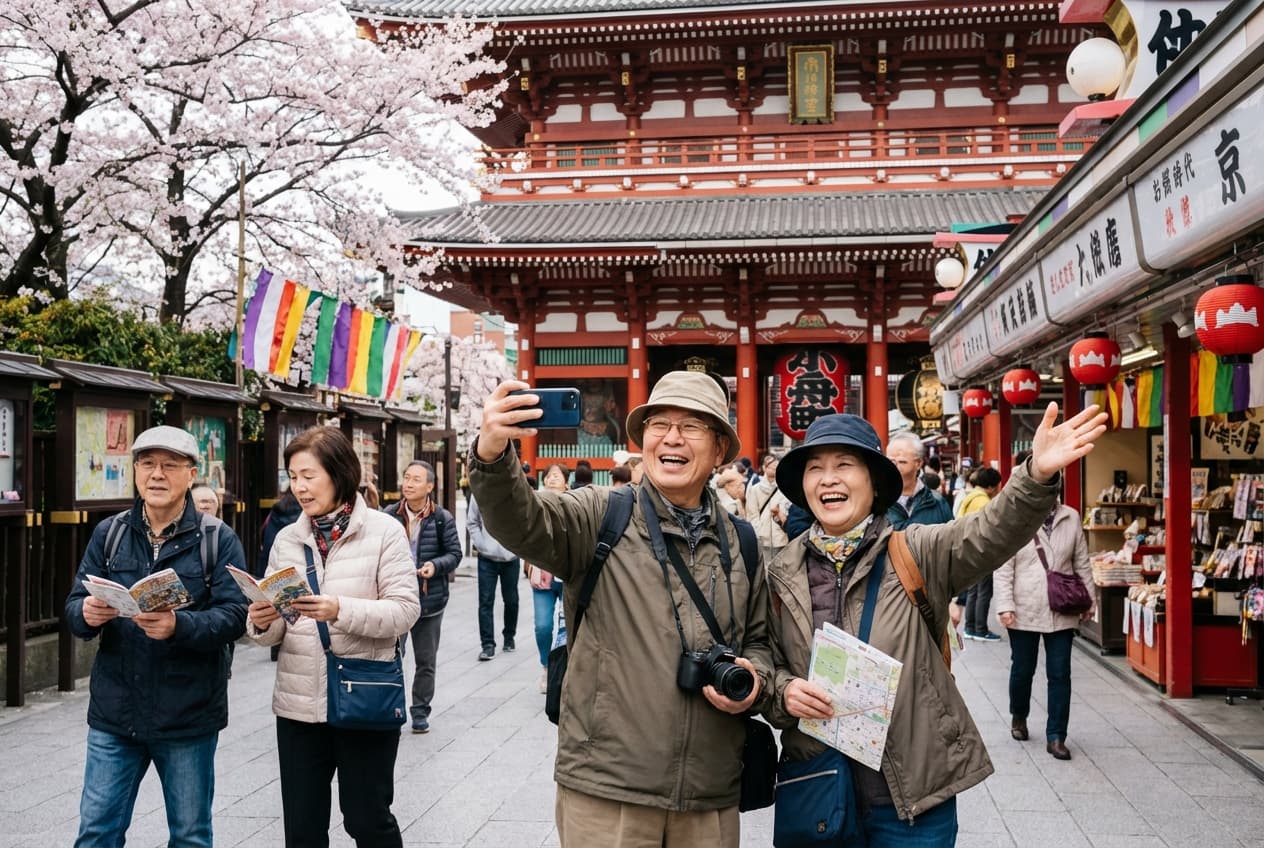
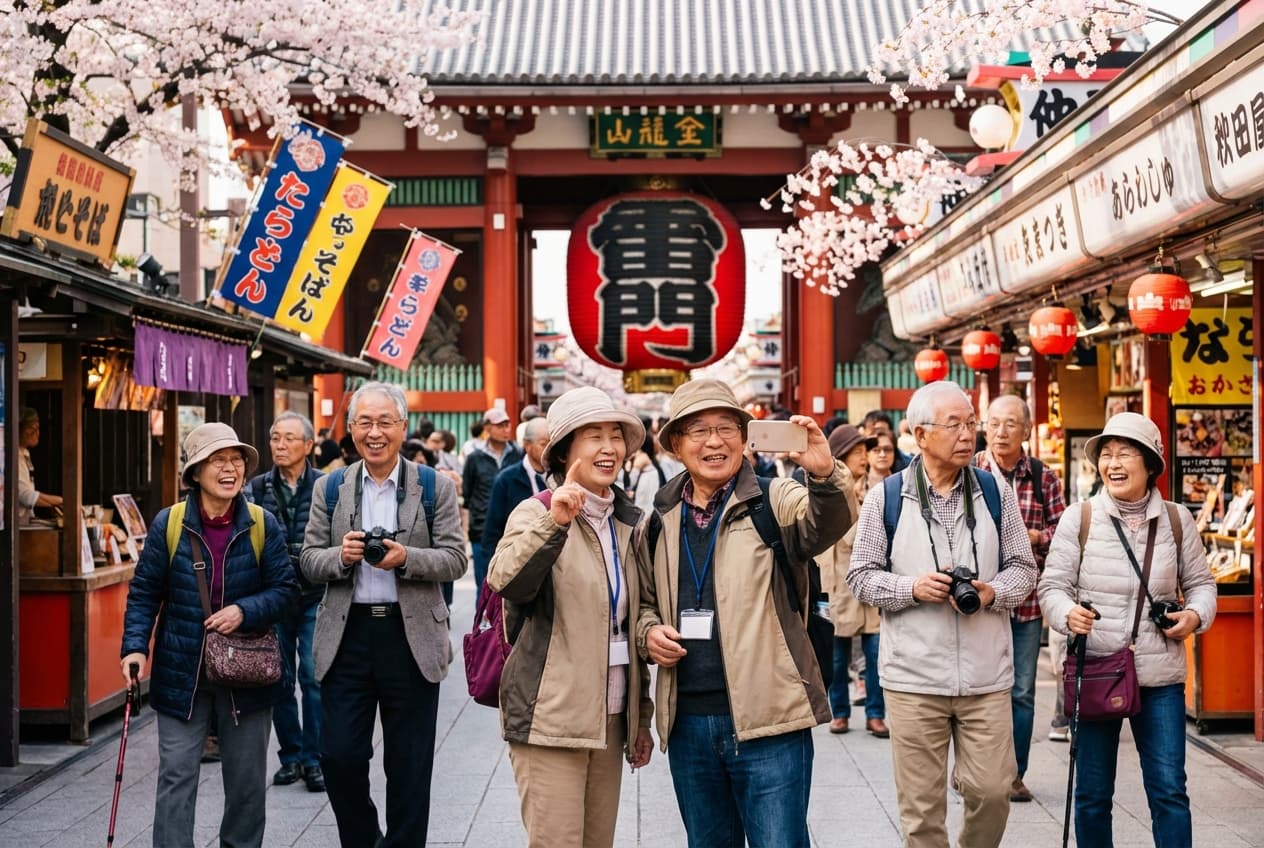
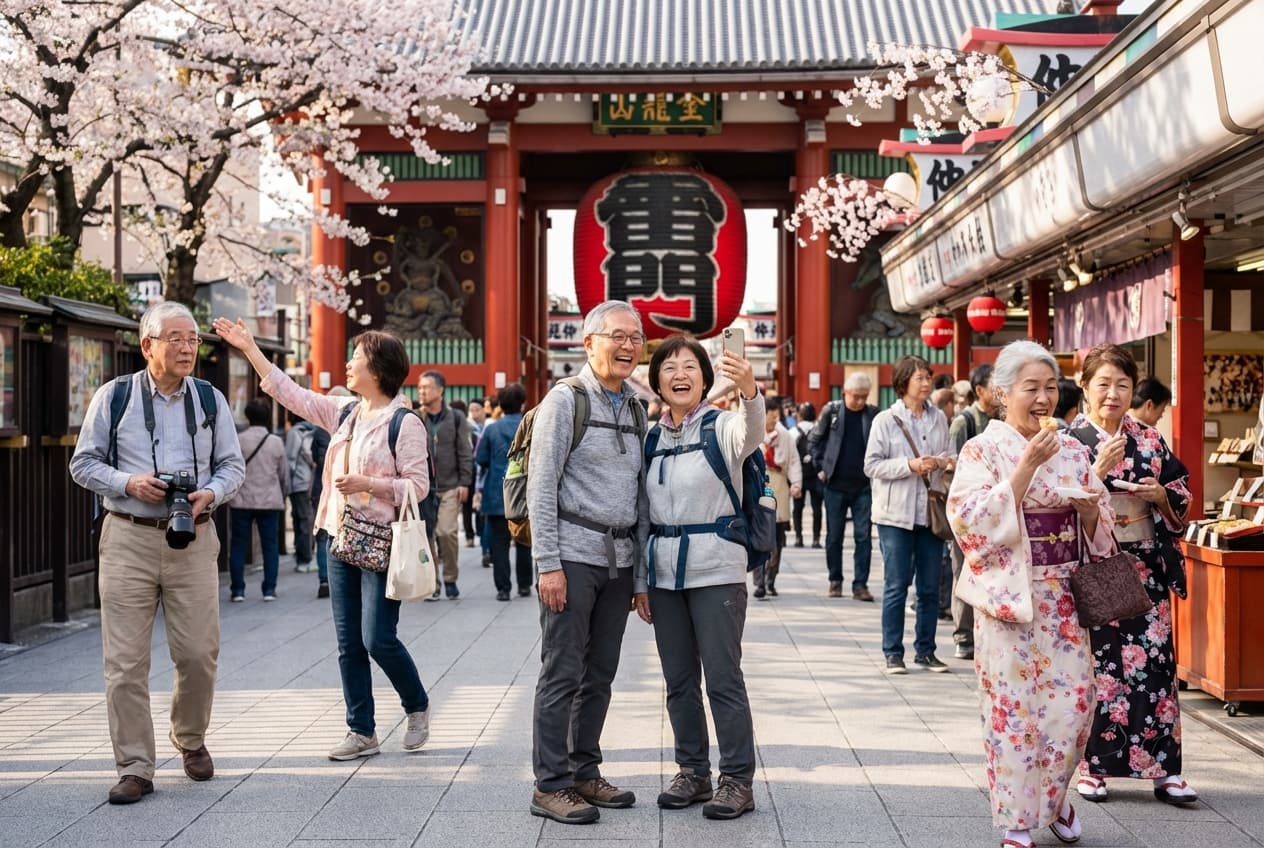
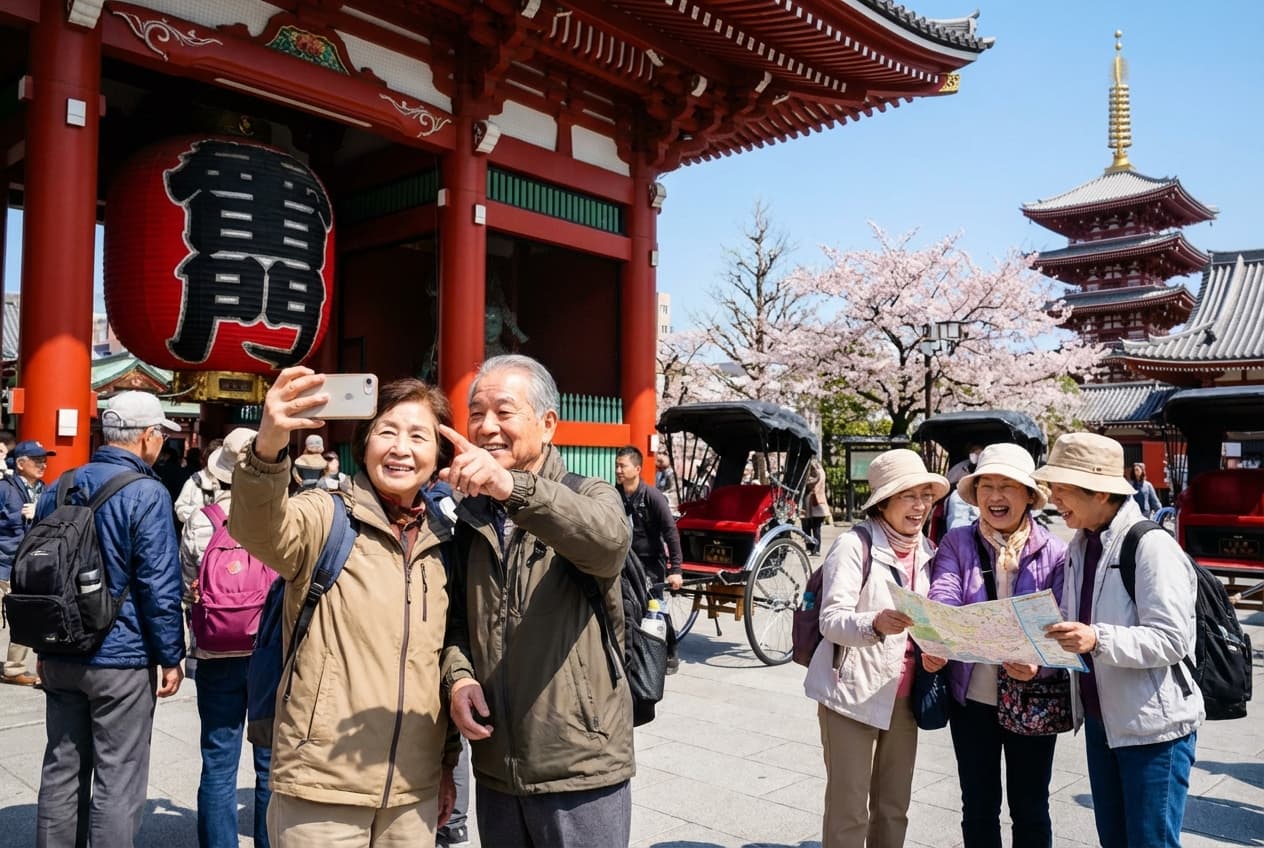
Senso-ji & Nakamise — dusk to blue-hour temple photography
Capture the lantern-lit approach, pagoda silhouettes and layered crowds with long exposures as the sky deepens.
Tips from local experts:
- Tripods are okay in stationary, non-blocking locations but avoid popular walkways; arrive early to secure a composing spot for blue hour.
- Bring a mid-range zoom (24–70) and a fast prime; bracket exposures to hold highlights from lanterns and billboards.
- Walk the side streets off Nakamise for quieter compositions — they often yield more intimate, less touristy frames.
Observation deck: Asakusa Culture Tourist Information Center — skyline & Skytree framing
Use the free observation deck for higher-angle compositions of Senso-ji and Tokyo Skytree illuminated at night.
Tips from local experts:
- The observation deck is free and gives a clean elevated view — ideal for panoramas without the bustle below.
- Tripods may be restricted on the deck; plan handheld bracketed exposures or use a small monopod if allowed.
- Time your visit so you have both warm temple lighting and the cooler Skytree illumination in a single set of brackets.
Dinner: Local tempura or izakaya in Asakusa
End the night with warm local food and review golden-hour selects with a small editing session.
Tips from local experts:
- Choose a smaller eatery where you can charge devices and spread images on a laptop to select favorites while you eat.
- If you shot low-light handheld, do a quick highlight/shadow pass to check if you need reshoots the next evening.
- Ask locals for quiet bars or alleys nearby — Asakusa has several intimate backstreets perfect for a final nightcap of shots.
Day 3
Market mornings, Ginza minimalism, rooftop neon vistas and Shinjuku alley portraits — a final day of contrasts and late-night alley textures.
Tsukiji Outer Market — morning food photography and vendor portraits
Catch the market as it wakes: vendors, close-ups of produce and wet-stall reflections; ideal for detailed food and documentary frames.
Tips from local experts:
- Arrive early (06:30–08:30) for active stalls and friendly vendors willing to show their craft — ask permission before close-ups.
- Use a short tele like 85–135mm for candid vendor portraits and a macro or 50mm for detail shots of textures and trays.
- Respect hygiene and handling rules: don’t touch produce and step back when chefs are preparing sushi; a polite bow goes a long way.
Breakfast sushi: Sushi Daiwa (Tsukiji) or local stand
Sit at the counter for close-up food frames, steam, action shots and natural light from shop fronts.
Tips from local experts:
- If you plan to photograph inside, ask the chef first — many will happily oblige for a quick shot during prep.
- Use a fast prime and keep ISO reasonable to capture the texture of fish without excessive noise.
- Avoid long waits by choosing a popular local counter outside the longest queues — quality photos over headline names.
Ginza backstreets & minimal neon — daytime architectural and signage study
Shift to minimal frames: window reflections, high-end storefronts and controlled neon in alleyways for clean, contrast-rich images.
Tips from local experts:
- Look for side alleys off Chuo-dori for simple sign compositions and stark light/shadow — wide aperture and mid-tele framing work well.
- Many stores permit interior photography only with permission — ask at reception/desks if you want interior stills.
- Ginza’s afternoon light is perfect for reflection work — try shooting store windows for layered compositions with mannequins and streets.
Lunch & recharge — local Ginza lunch spot (quick edit)
Recharge with a relaxed lunch, backup files and prepare for rooftop and evening shooting in Shinjuku.
Tips from local experts:
- Choose a lunch spot with a window for continuing to work on selects and to check exposure consistency across locations.
- Use this break to consolidate presets for evening neon shots (increase highlight recovery and boost vibrance subtly).
- Carry a compact cleaning kit and wipe lenses after city shooting—glass smudges show up on high-contrast neon frames.
Break & gear check (hotel or café)
Short rest, swap lenses, check camera settings for low-light panoramas and confirm evening rooftop access times.
Tips from local experts:
- Charge spare batteries and clean sensor/filters now — dust will be obvious against night highlights.
- Pre-program a custom white balance for neon scenes to keep skin tones consistent when shooting mixed light.
- Pack a small fast LED panel for fill if you plan to do low-light portraits in alleys later.
Tokyo Metropolitan Government Building — rooftop observation for sunset-to-blue-hour cityscapes
Take advantage of free observation decks in Shinjuku for wide neon panoramas and to place the maze of streets beneath your frame.
Tips from local experts:
- Observation decks are free but close at set times; check opening hours to ensure blue-hour access — crowd levels peak at sunset.
- Tripods are commonly not allowed; plan handheld bracketed exposures or use a small monopod if park rules permit.
- For layered compositions, include foreground elements (antenna masts, building edges) and bracket for the bright billboards below.
Shinjuku neon alleys: Omoide Yokocho & Golden Gai (late-night alley textures)
Close the trip with intimate alley portraits, bar interiors and saturated signage — small lanes, big character.
Tips from local experts:
- Always ask permission before photographing inside small bars — many owners prefer a quick buy-in (order first, then shoot).
- Carry a quiet prime and a fast zoom; shutter speeds will vary widely between neon exteriors and dim interiors.
- Scout a few signature alley compositions early, then return after dark when the lights and mood coalesce for richer images.
Itinerary Attributes
| Days | 3 |
| Highlights | 5 |
| Season | Autumn |
| Month | November |
| Persona | Photographers |
| Transfers | 3 |
| Restaurants | 6 |
| Total Activities | 21 |
| Total Places | 21 |
| Activities Types | Hotel, Transfer, Attraction, Neighborhood, Restaurant, Nightlife, Culture, Outdoor, Meal, Break |
